 how-to
How to Fix Chipped Quartz Countertops
Last Updated: October 28, 2026
Quick Summary
You can fix chipped quartz yourself with a tintable epoxy repair kit: clean the chip with isopropyl alcohol, fill it slightly above the surface, then sand and polish flush. Small shallow chips under 1/4 inch suit DIY, but edge chips, cracks, or damage over 1/2 inch need professional repair.
- Clean the chip and a one-inch border with isopropyl alcohol, not acetone.
- Overfill the chip slightly and let the epoxy cure fully before sanding.
- Wet-sand with 800 grit, then 1500 grit, and buff with polishing compound.
- Choose a tintable epoxy so you can match your quartz color and pattern.
- Call a professional for chips over 1/2 inch or any edge damage.
Table of Contents
- Can You Repair a Chipped Quartz Countertop?
- What You'll Need for the Repair
- Step 1: Clean and Prepare the Damaged Area
- Step 2: Fill the Chip with Quartz Countertop Chip Repair Epoxy
- Step 3: Shape, Sand, and Polish to a Seamless Finish
- Choosing a Quartz Countertop Repair Kit for Small Chips
- When to Call for Professional Quartz Countertop Chip Repair
- Get Your Free Estimate for Chip Repair
- Frequently Asked Questions
Can You Repair a Chipped Quartz Countertop?
Yes, you can repair a chipped quartz countertop. For a step-by-step walkthrough, see our article on how to repair a chipped quartz countertop at home. Larger chips, edge damage, or cracks that run into the slab may need professional quartz countertop chip repair.
Here's the key point most guides skip: quartz is an engineered stone. It's ground quartz mixed with resin binder, so it behaves differently from granite or natural stone. That matters when you pick a filler.
At Major Stone Repairs and Restoration, we've worked in the stoneworking industry for over 20 years.
Assessing Chip Size and Severity
Measure the damage before deciding what to do.
What You'll Need for the Repair
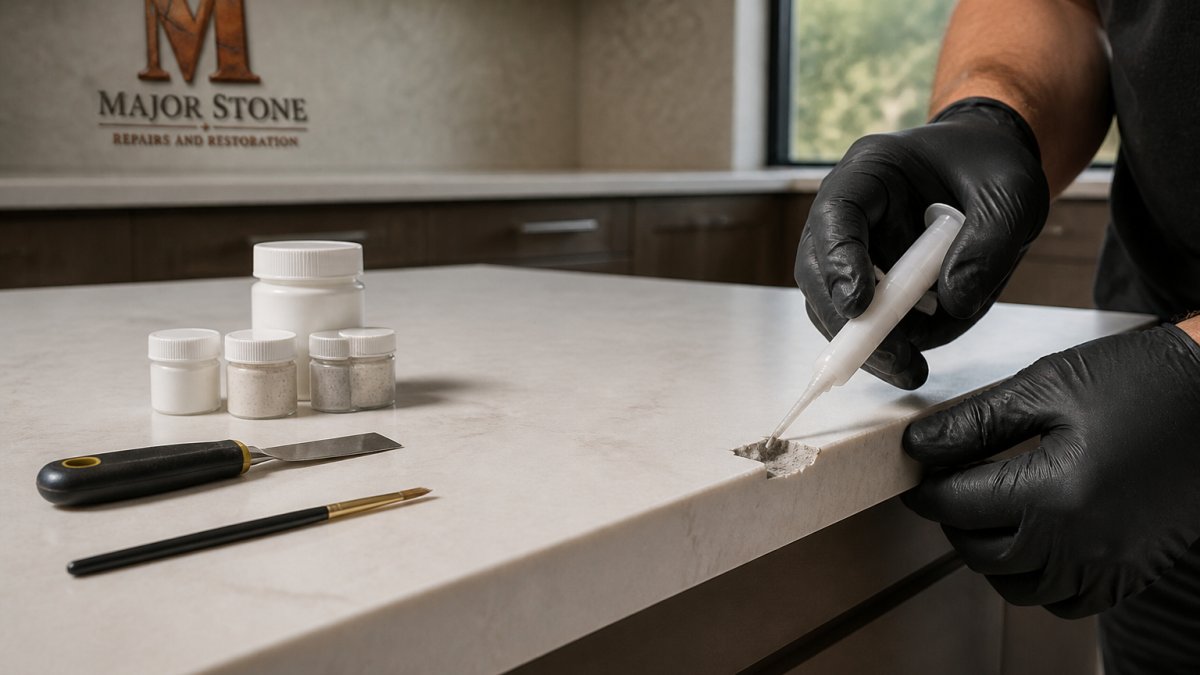
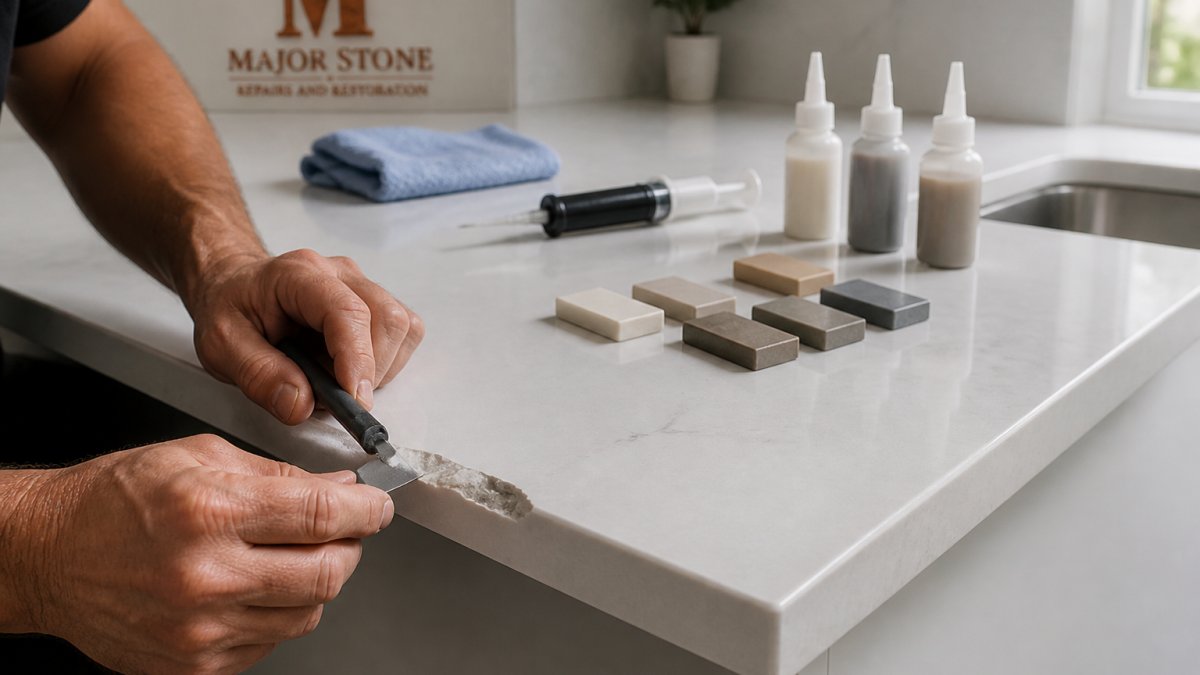
A quartz countertop repair kit for small chips usually bundles the filler, scraper, and polish. Buy one that lets you tint the epoxy, not a single fixed color. Quartz patterns vary too much for one shade to match.
Safety and Product Compatibility
This is the step most guides skip, and it is where DIY repairs go wrong in ways that are hard to undo.
- Ventilation: Epoxy and resin hardeners release vapors while curing. Work in a well-ventilated room, open windows, and keep the area clear of ignition sources. If you cannot ventilate, wear a respirator rated for organic vapors.
- Skin and eye protection: Uncured epoxy is a known skin sensitizer. Nitrile gloves and safety glasses are not optional. Once sensitized, some people react to epoxy for years.
- Food-contact caution: Not every epoxy is rated for food-contact surfaces. Check the product label for a food-contact or indirect-food-contact statement before using it on a prep area. If the label is silent, treat the repair as non-food-contact and keep cutting boards over it.
- Surface compatibility: Confirm the filler is labeled for quartz or engineered stone. Products designed for porous natural stone can cure too hard or bond poorly to resin-bound quartz, leading to lifting or a visible halo.
- Solvent check: Some cleaners and solvents can dull or etch the resin in quartz. Use isopropyl alcohol for prep, not acetone or general-purpose degreasers, unless the filler manufacturer says otherwise.
Step 1: Clean and Prepare the Damaged Area
Surface preparation decides whether the repair holds. Skip it and the epoxy lifts within weeks.
Start by cleaning the chip and a one-inch border around it with isopropyl alcohol. Remove all dust, grease, and cleaner residue. Let it dry fully. Epoxy won't bond to a damp surface.
Next, lightly rough up the inside of the chip with fine sandpaper. This gives the filler something to grip. Wipe away the dust again.
Tape off the surrounding surface if you're worried about stray epoxy. Keep the tape clear of the chip itself.
One insider tip: check the chip for loose flakes. A common mistake is filling over a crumbling edge. Pick out any loose material with a razor blade first. A repair over unstable stone fails fast.
Step 2: Fill the Chip with Quartz Countertop Chip Repair Epoxy

Work the filler into the chip with a plastic scraper. Press it in to fill air pockets. Overfill slightly, so the filler sits just above the surrounding surface.
Let it cure. Follow the product's cure time, which typically runs from a few hours to a full day. Don't rush this step. Sanding uncured epoxy smears it.
Matching Color and Pattern to Your Quartz Surface
Color matching is where DIY repairs succeed or fail. A perfect fill in the wrong shade still looks like a scar.
- Photograph the chip area in daylight before you start.
- Test your mixed epoxy on a scrap or hidden spot first.
- Blend two tints if your quartz has veining or speckle.
- Add a touch of darker pigment for depth on patterned surfaces.
For speckled quartz, a single flat color reads as a patch. Mix in a little contrast so the repair mimics the pattern. If your surface has visible veining, a pro can layer tints to follow the grain, which is hard to do by hand.
Step 3: Shape, Sand, and Polish to a Seamless Finish
Shape the cured filler down to the surface, then polish it back to the sheen of the surrounding stone.
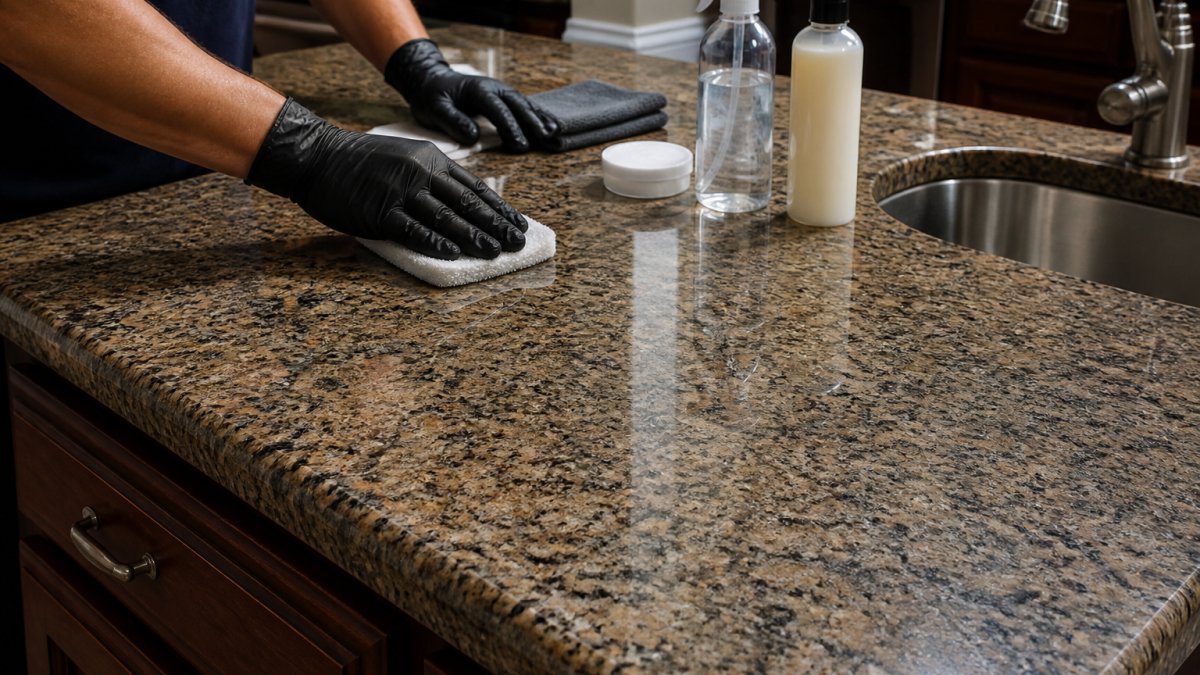
Scrape excess epoxy flush with a razor blade held at a shallow angle. Then wet-sand with 800 grit, moving to 1500 grit. Keep the paper wet to avoid scratching the quartz.
Finish with a polishing compound and a soft cloth. Buff in small circles until the repair blends with the surface finish.
The goal is a seamless finish: the repair should catch light the same way the rest of the countertop does. If the patch looks dull, you stopped sanding too soon. If it looks cloudy, you skipped a grit.
Choosing a Quartz Countertop Repair Kit for Small Chips
| Feature | Why It Matters |
|---|---|
| Tintable epoxy or resin | Lets you match your quartz color and pattern |
| Fine-grit sandpaper included | Needed for a seamless finish |
| Polishing compound | Restores surface sheen |
| Clear instructions with cure times | Prevents smearing and rework |
| Enough volume for touch-ups | Handy for future small chips |
When to Call for Professional Quartz Countertop Chip Repair
Call a professional when the chip is large, on an edge, or paired with a crack. DIY works for small cosmetic chips. It fails on structural damage and on color matching that needs an expert eye. The trick is knowing where that line sits before you buy a kit.
A Practical Damage-Size Decision Guide
| Damage | Typical approach | Why |
|---|---|---|
| Surface chip under 1/4 inch, shallow | DIY epoxy repair | Filler can bridge a small, stable void |
| Chip 1/4 to 1/2 inch, clean edges | DIY possible, color match is the risk | Larger fill area makes a mismatch more visible |
| Chip over 1/2 inch | Professional | Filler volume and shaping are hard to control by hand |
| Any chip on the edge profile or corner | Professional | Edge geometry must be rebuilt, not just filled |
| Crack radiating from the chip | Professional, treat as structural | A crack can propagate; filling hides it |
| Chip near sink cutout, seam, or cooktop | Professional inspection first | Often signals movement or a failed seam |
Warranty Mechanics Before You Touch the Chip
Signs it is time to call:
- Chip larger than 1/2 inch
- Damage on the edge profile or corner
- A crack running from the chip
- Chips near a sink, seam, or cutout
- A repair that keeps failing
- A surface under warranty where the cause is unclear
For surfaces that also look dull, a clean and polish service is available. If you are weighing repair against replacement, our guide on repairing vs replacing kitchen countertops lays out the cost and lifespan comparison. For a full walkthrough of the process and prevention tips, see our guide to professional stone chip repair.
Get Your Free Estimate for Chip Repair
If you're in Knox, Sevier, Blount, Loudon, or the surrounding counties, we come to you. Our mobile specialists handle expert stone repair and restoration services, including quartz restoration. You can also contact us to ask questions.
Get started with Major Stone Repairs and Restoration and get a free estimate.
Frequently Asked Questions
Can you repair a small chip on the edge of a quartz countertop?
Yes. Chips under about 1/4 inch on a quartz edge are usually repairable with a color-matched epoxy or resin filler. Clean the area, apply the filler, then sand and polish it flush with the surrounding surface. Small edge chips are the easiest to hide because the repair sits on a narrow profile. Larger chips, cracks that run into the slab, or damage near a seam are better handled by a professional quartz countertop chip repair specialist.
What filler should you use to repair a quartz countertop chip?
A two-part epoxy or polyester resin designed for quartz and stone is the standard choice. Avoid plain superglue for anything beyond a tiny surface nick, since it can yellow and does not build up the missing volume well. Many quartz countertop repair kits include color pigments so you can tint the epoxy to match your slab. Mix only what you need, because most epoxies cure within 15 to 30 minutes once combined.
Can a chipped quartz countertop be repaired without a professional?
Small, shallow chips on a flat surface or edge are realistic DIY repairs if you have the right kit, patience, and a steady hand for color matching. Damage larger than 1/4 inch, chips on a curved edge profile, or any crack that spreads into the slab usually needs a professional quartz countertop chip repair technician. A failed DIY repair can make color matching harder for the next person, so assess the damage honestly before you start.
How do you prevent quartz countertop chips?
Most chips come from impact, not wear. Use a cutting board instead of chopping directly on the surface, avoid dropping heavy pans or tools on edges, and keep the countertop clear of items that can topple from upper cabinets. Place a mat under small appliances that vibrate. If your quartz has a warranty, check what it covers for accidental damage before you attempt any repair yourself, since some manufacturers require approved technicians.