 how-to
How to Seal Granite After Household Cleaner Damage
Last Updated: October 25, 2026
Quick Summary
Granite sealing after damage restores protection and prevents future harm from household cleaners. Acidic and alkaline cleaners damage granite by etching the stone or stripping away the sealer, leaving it vulnerable to stains and water damage. Proper sealing fills microscopic pores and creates a barrier that allows spills to sit on the surface where you can wipe them away.
- Clean the granite thoroughly with mild soap and water, then air-dry for 30 minutes before sealing.
- Test the sealer on a hidden area first by applying it and checking if water beads up after 24 hours.
- Apply sealer in thin, even coats to 2-3 foot sections, waiting 5-10 minutes between applications.
- Allow 24-72 hours of cure time before using countertops, depending on the product instructions.
- Use only mild soap and water or stone-specific cleaners after sealing to avoid damaging the sealer.
Table of Contents
- How Household Cleaners Damage Granite and Why Sealing Matters
- Understanding Granite Countertop Cleaner Damage Repair
- What You'll Need Before Sealing Your Granite
- Step-by-Step Process for Sealing Granite After Damage
- Choosing the Best Cleaner for Sealed Granite
- Common Mistakes to Avoid When Sealing Granite
- Getting Professional Granite Sealing After Damage
- Frequently Asked Questions
How Household Cleaners Damage Granite and Why Sealing Matters
Household cleaners damage granite because they're too acidic or alkaline for natural stone. Most people don't realize this until their countertops start looking dull, etched, or stained. Granite sealing after damage is the key to restoring protection and preventing future harm.
Here's what happens: acidic cleaners like vinegar, lemon juice, and many commercial bathroom sprays eat away at the stone's protective surface. Alkaline cleaners can strip away the sealer and leave residue.
At Major Stone Repairs and Restoration, we've seen this damage countless times. Homeowners often use whatever cleaner they have on hand, not knowing it's slowly destroying their investment. The good news is that proper sealing after cleaner damage can restore your granite's beauty and protection.
Sealing isn't just about looks. It fills microscopic pores in the stone and creates a barrier against spills, bacteria, and future damage. Without it, your granite absorbs liquids like a sponge. With it, spills sit on the surface where you can wipe them away.
Understanding Granite Countertop Cleaner Damage Repair
Granite countertop cleaner damage repair starts with understanding what went wrong. Etching is the most common problem. This is when acidic cleaners chemically react with the stone's surface, leaving dull spots or streaks. Etching is permanent damage to the stone itself, not just the sealer.
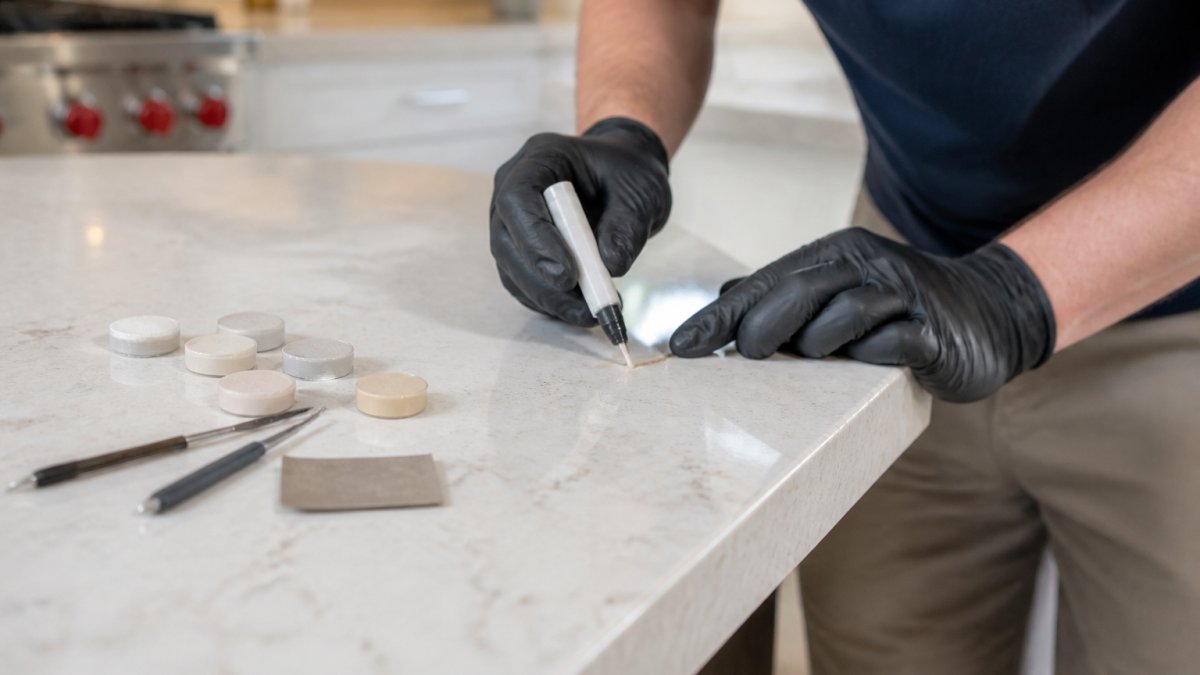
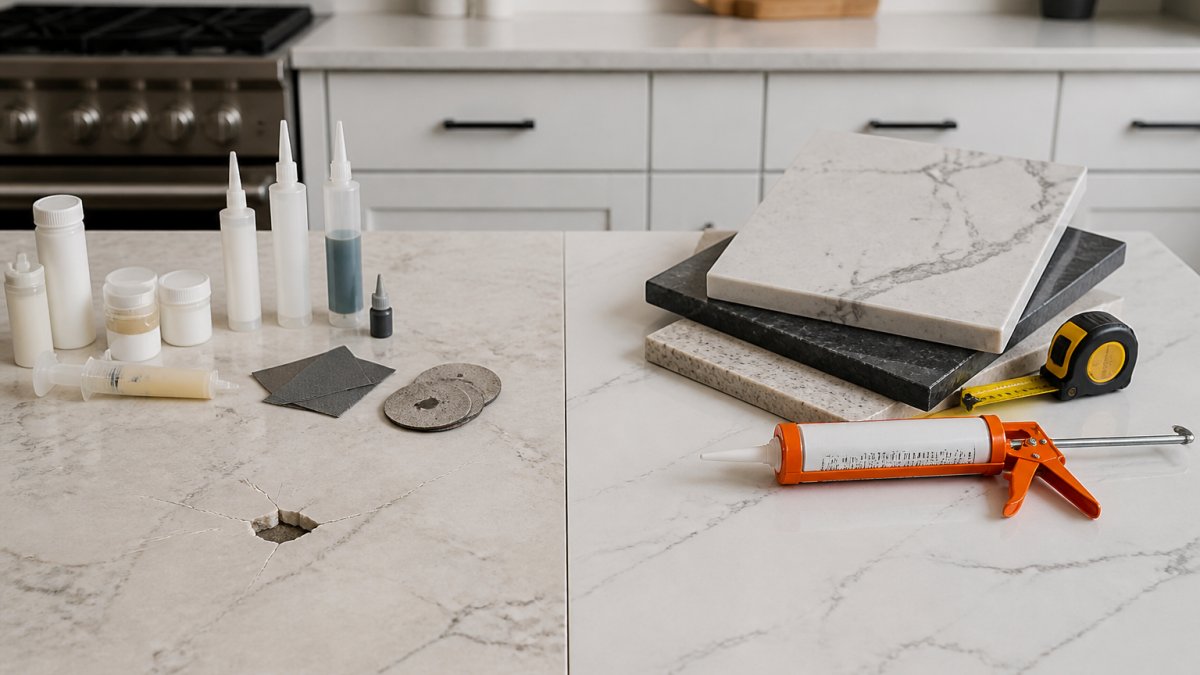
Sealing alone won't fix deep etching. Professional stone chip repair addresses damage that goes beyond what sealing can restore. That requires professional polishing to restore the granite's shine. However, sealing prevents new etching from happening again. It's like applying sunscreen after a sunburn, it protects against future damage.
The second type of damage is loss of the sealer itself. This happens when alkaline cleaners break down the protective coating. Your granite may look okay at first, but it's now unprotected. Spills will stain. Water will seep into the pores.
We recommend checking your granite regularly. Pour a few drops of water on the surface. If the water beads up, your sealer is working. If it soaks in, you need to reseal immediately.
What You'll Need Before Sealing Your Granite
Gather these materials and tools before you start:
- Granite sealer (pH-neutral, penetrating type)
- Soft cloths or microfiber applicator pads
- Spray bottle for water testing
- Mild soap and water for cleaning
- Plastic or rubber gloves
- Drop cloth or plastic sheeting
- Measuring tape or ruler
- Small brush or applicator bottle with nozzle
Choose a granite sealer designed for your stone type. Penetrating sealers work best for granite. They sink into the pores and create a barrier from inside the stone. Topical sealers sit on the surface and can look streaky.
Make sure your sealer is pH-neutral. Acidic or alkaline sealers can cause the same damage as household cleaners. Read the label carefully.
Clear the area completely. Remove everything from your countertops. Move small appliances, utensil holders, and decorative items. You'll need clear access to the entire surface.
Step-by-Step Process for Sealing Granite After Damage
Step 1: Clean and Prepare the Surface
Start with a deep clean. This removes all residue from previous cleaners and debris that could interfere with sealing.
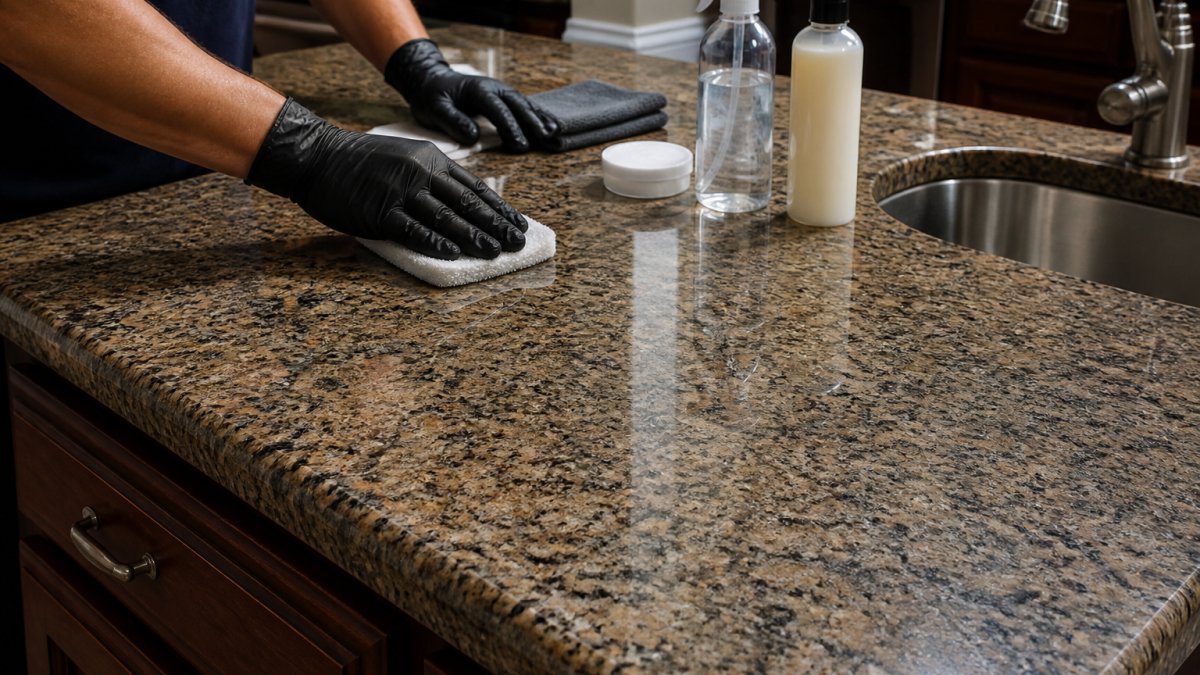
Use mild soap and warm water. Mix a few drops of dish soap into a bucket of water. Wipe down the entire granite surface with a soft cloth. Pay special attention to edges, seams, and areas where cleaners pooled.
Rinse thoroughly with clean water. Use a second cloth to remove all soap residue. Any soap left behind will prevent the sealer from bonding properly.
Dry completely with a clean, lint-free cloth. Moisture blocks sealer penetration. Take your time here. If your granite is large, use multiple cloths to ensure everything is dry.
Let the surface air-dry for 30 minutes after wiping. This ensures no hidden moisture remains in the pores.
Step 2: Test Granite Sealer With Water Drops
Before sealing the entire surface, test your sealer on a hidden area. This prevents mistakes on visible countertops.
Choose a spot under the sink or in a corner. Apply sealer according to the product instructions. Let it cure for the recommended time, usually 24 hours.
Pour a few water drops on the test area. If water beads up, the sealer is working correctly. If water soaks in, the sealer isn't bonding properly. This could mean the surface wasn't clean enough or the sealer isn't compatible with your granite.
If the test fails, clean the area again and try a different sealer brand. Don't proceed with the full application until the test works.
Step 3: Apply the Sealer Evenly
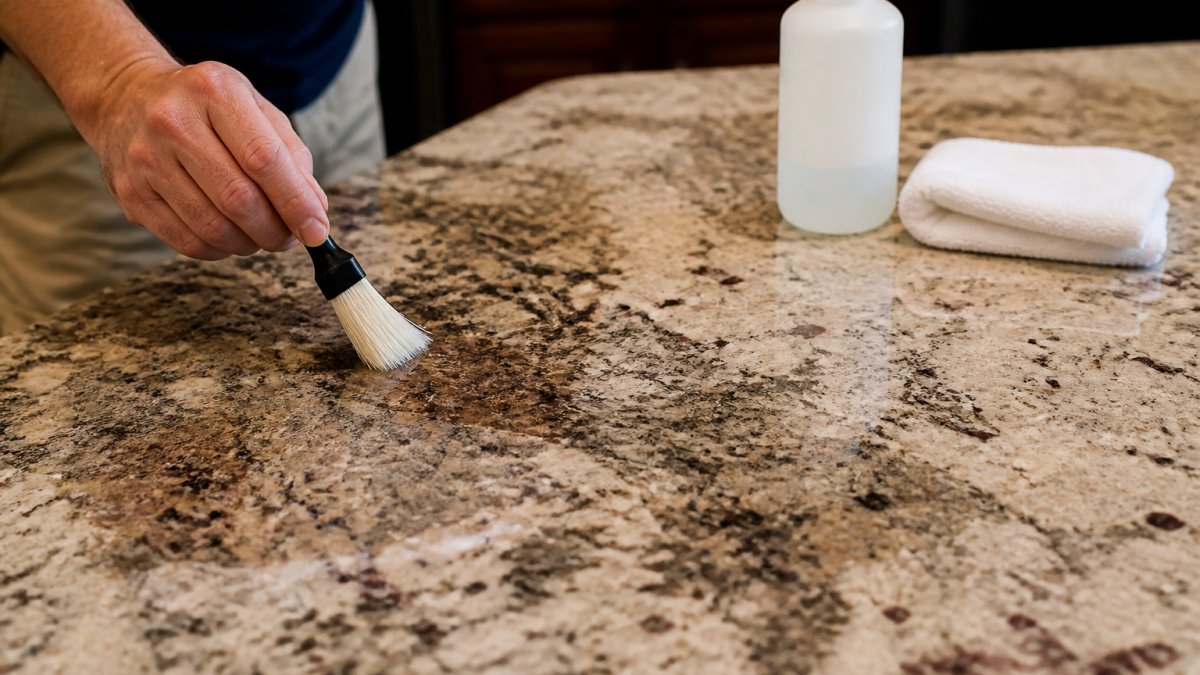
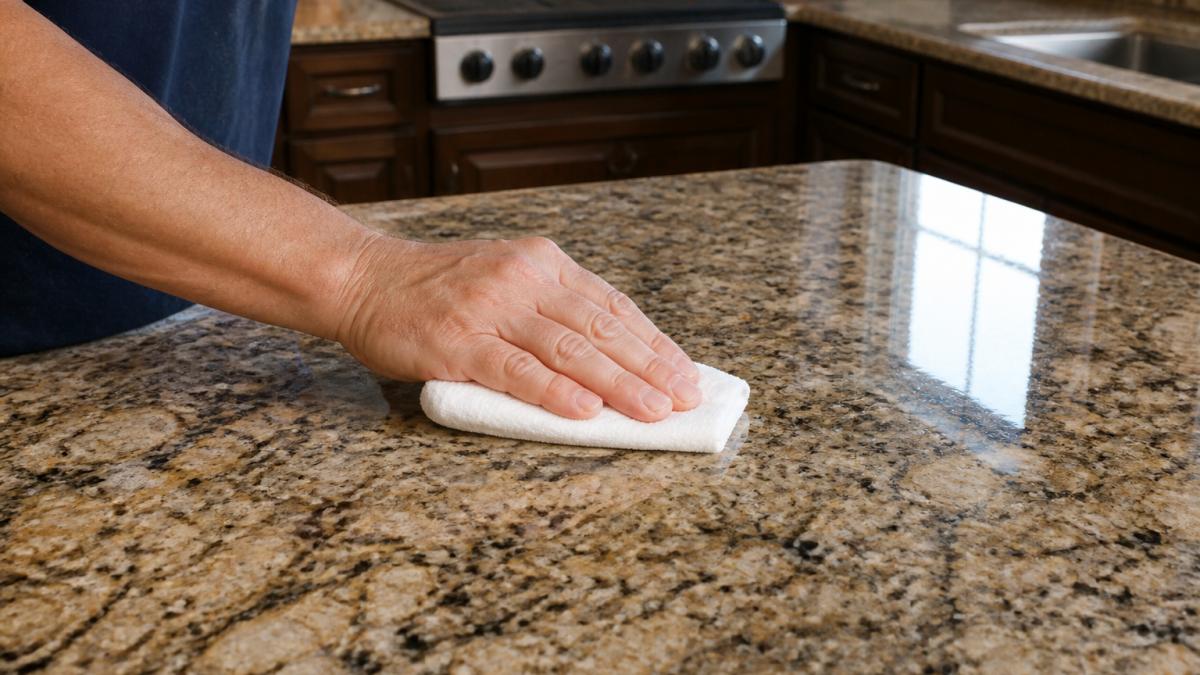
Pour a small amount of sealer into your applicator bottle or onto a cloth. Start in one corner and work in sections.
Apply thin, even coats. Use a circular motion with your cloth. Don't pour sealer directly onto the granite. This creates puddles that dry unevenly and leave streaks.
Work in 2-3 foot sections. Apply sealer, let it absorb for 5-10 minutes, then wipe away excess. The goal is to saturate the stone without leaving standing liquid.
Cover the entire surface systematically. Move from one section to the next without gaps. Pay extra attention to edges and seams where damage often concentrates.
Most granite sealing after damage requires two thin coats. Wait the recommended time between coats, usually 4-24 hours depending on the product. Check your sealer's instructions.
Step 4: Allow Proper Granite Sealer Curing Time
This is where most people make mistakes. They use their countertops too soon and the sealer doesn't cure properly.
Granite sealer curing time varies by product. Most penetrating sealers need 24-72 hours of cure time before the surface is fully protected. Read your sealer's label carefully.
During curing, avoid all contact with the granite. Don't place items on the countertops. Don't spill liquids. Don't wipe the surface. Any disturbance interrupts the sealing process.
Keep the area dry and well-ventilated. Open windows if possible. Proper air circulation speeds up curing. Avoid humidity if you can.
After the full cure time, test with water drops again. If water beads up, you're done. If it soaks in, apply another coat and wait the full cure time again.
Follow these steps in order, allowing proper time between each stage for best results.
| Step | What to Do | Time or Frequency |
|---|---|---|
| 1 | Clean surface with mild soap and water, rinse, dry completely | 30 minutes air-dry after wiping |
| 2 | Test sealer on hidden area and check water beading | 24 hours cure before testing |
| 3 | Apply sealer in thin, even coats to 2-3 foot sections | 5-10 minutes absorption per section |
| 4 | Allow sealer to cure fully before using countertops | 24-72 hours depending on product |
| 5 | Test with water drops to confirm sealer is working | After full cure time |
Choosing the Best Cleaner for Sealed Granite
Once your granite is sealed, use the right cleaners to keep it protected. Wrong cleaners will damage the sealer and expose your stone again.
The best cleaner for sealed granite is mild soap and water. This is your daily go-to. Mix a few drops of dish soap into warm water. Wipe your countertops regularly. This removes spills before they can stain.
Avoid these cleaners completely:
- Vinegar and lemon juice (acidic)
- Bleach and ammonia (too strong)
- Bathroom cleaners (designed for tile, not stone)
- Windex and glass cleaners (leave streaks and residue)
- Abrasive scrubbing powders (scratch the surface)
Use stone-specific cleaners if you want something stronger than soap and water. These are formulated to clean without damaging granite or its sealer. They're available at most hardware stores.
Spray stone cleaner on a cloth, not directly on the granite. Wipe the surface and buff dry with a clean cloth. This prevents streaks and excess moisture.
Common Mistakes to Avoid When Sealing Granite
Many people rush the sealing process and end up with poor results. Here are the mistakes we see most often.
Skipping the surface prep. Dirt, soap residue, and old sealer prevent new sealer from bonding. Clean thoroughly before you start.
Using too much sealer. More isn't better. Excess sealer creates streaks, puddles, and uneven coverage. Apply thin coats. Wipe away excess.
Not testing first. Always test on a hidden area before sealing your entire countertop. This catches problems before they're visible.
Rushing the cure time. The sealer needs time to harden and bond with the stone. Using your countertops too soon ruins the job.
Using the wrong sealer. Cheap sealers or topical sealers designed for other surfaces won't protect granite properly.
Ignoring water beading tests. After sealing, test with water drops regularly. If water stops beading, your sealer is wearing out.
Continuing to use acidic cleaners. This defeats the purpose of sealing. Switch to mild soap and water. Your sealer will last much longer.
Getting Professional Granite Sealing After Damage
Sometimes DIY sealing isn't enough, especially if your granite has deep etching or extensive damage. Professional help ensures the job is done right.
Expert stone repair and restoration services from Major Stone Repairs and Restoration go beyond basic sealing.
Our team uses DryTreat sealers, which are engineered specifically for granite and quartz. These penetrating sealers provide superior protection and durability.
We also provide performance warranties on our sealing work. This means if the sealer fails within the warranty period, we'll reseal at no charge. This gives you peace of mind that your investment is protected.
For granite with significant etching, we recommend professional polishing before sealing. Polishing removes the damaged layer and restores shine. Then we seal to prevent future damage.
If you're uncertain whether your damage requires professional help, contact us for a free assessment. We'll evaluate your granite and recommend the best approach, whether that's DIY sealing or professional restoration.
Frequently Asked Questions
Can household cleaners damage granite countertops?
Yes. Acidic cleaners containing vinegar, lemon, or bleach etch granite's surface by breaking down the protective sealer and the stone itself. Alkaline cleaners leave residue that dulls the finish. Even neutral cleaners can strip the sealer if used repeatedly without resealing. Once the sealer is compromised, granite becomes vulnerable to stains, discoloration, and pitting.
How do you test if granite sealer needs reapplication using water drops?
Sprinkle a few drops of water on your granite surface. If the water beads up and stays on top, your sealer is still working. If the water soaks in and darkens the stone, the sealer has failed and needs to be reapplied. This granite sealer test water drops method takes seconds and tells you exactly when resealing is necessary.
How long should granite sealer cure before using the countertop?
Most granite sealers require 24 to 72 hours of curing time before the surface can handle normal use. Some premium sealers need up to a week for full hardness. Check your sealer's instructions carefully, as granite sealer curing time varies by product. Avoid water, food, and cleaning during this period to allow the sealer to bond completely to the stone.
What cleaners are safe to use on sealed granite?
Use pH-neutral cleaners specifically labeled for granite, or make a simple solution of warm water and a few drops of dish soap. Avoid vinegar, bleach, and citrus-based products. For the best cleaner for sealed granite, look for products that are non-acidic and non-abrasive. Always wipe up spills promptly and reseal annually to maintain protection.
Granite sealing after household cleaner damage is an investment in protecting your countertops. Whether you seal yourself or hire professionals, the key is acting quickly once damage appears. Major Stone Repairs and Restoration specializes in granite sealing after damage and can restore your countertops to their original beauty with our DryTreat certified application and performance warranties. Get your free estimate today and learn how we can protect your stone surfaces for years to come.