 how-to
How to Repair a Chipped Quartz Countertop at Home
Last Updated: October 26, 2026
Quick Summary
To repair chipped quartz countertop damage at home, clean and dry the chip completely, apply epoxy, acrylic, or light-cure filler matched to your quartz color, then sand and polish the repair smooth. Success depends on chip size, depth, and location, with surface chips smaller than a quarter being ideal DIY candidates.
- Surface chips smaller than a quarter are solid DIY candidates, while chips larger than a half-dollar are harder to hide
- Chips deeper than your fingernail thickness risk trapping air pockets and should be professionally repaired
- Two-part epoxy cures in 24 hours and is most durable, while light-cure acrylic hardens in 30-60 seconds for precision work
- Clean the chip with isopropyl alcohol and let it dry at least 30 minutes before applying filler
- Sand with 220-grit to 400-grit sandpaper, then polish with quartz compound to match the surrounding countertop shine
Table of Contents
- Assessing the Chip Size, Depth, and Location
- Preparing Your Work Area and Materials
- Choosing a Quartz Countertop Repair Kit
- Selecting the Right Quartz Countertop Chip Filler
- Step-by-Step Repair Process
- Understanding Quartz Countertop Repair Cost and Durability
- Common Mistakes to Avoid
- Getting Your Countertop Professionally Restored
- Frequently Asked Questions
Assessing the Chip Size, Depth, and Location
Whether you can repair chipped quartz countertop damage at home depends on three factors: how big the chip is, how deep it goes, and where it sits on your surface. Not every chip is worth fixing yourself. Some belong in professional hands from the start.
Surface Chips vs. Edge Chips
Surface chips are small breaks on the flat top of your countertop. These are the easiest to repair at home. An edge chip runs along the rim where your counter meets the side of your cabinet or island. Edge chips are trickier because they're visible from multiple angles and take more precision to blend.
A surface chip smaller than a quarter is a solid DIY candidate. Chips larger than a half-dollar become harder to hide, no matter how well you match the color. Edge chips need extra care because even a small imperfection shows when someone walks past your kitchen.
When Repair Is Realistic and When It Isn't
Depth determines repairability more than size. A shallow chip, even if it's wide, can be filled and blended. A deep gouge that penetrates more than a quarter-inch into the quartz becomes a different problem.
Here's the practical reality: if you can fit your fingernail into the chip, it's shallow enough to attempt at home. If the chip is deeper than your nail is thick, professional repair gives you better odds of a lasting result. Deep chips risk trapping air pockets inside the filler, which creates weak spots that crack again under use.
Location also matters. A chip near the sink or stove gets more heat, moisture, and stress than one in the middle of the counter. Chips near the edge of your countertop experience more daily impact. These high-traffic areas demand a more durable repair method than a low-stress zone would.
Preparing Your Work Area and Materials
Before you touch your countertop, clear the space and gather everything you'll need. A rushed repair with missing supplies almost always fails.
Cleaning the Damaged Area Before Repair
The damaged area must be completely clean and dry. Any dust, grease, or moisture inside the chip will prevent your filler from bonding properly.
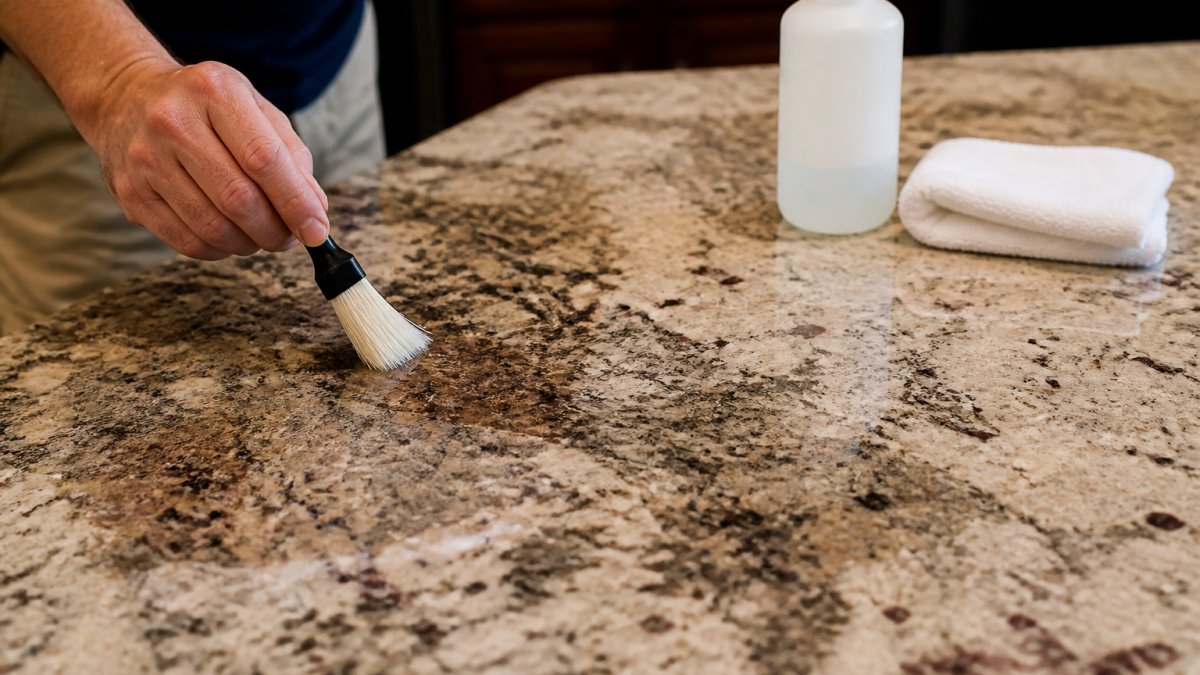
Start by vacuuming out loose debris with a handheld vacuum or brush. Use compressed air if you have it, it blows out particles that a vacuum might miss. Next, wipe the chip and surrounding area with isopropyl alcohol on a lint-free cloth.
Let the area dry for at least 30 minutes. Don't skip this step. A damp chip will cause your filler to cure unevenly or fail to harden at all.
Inspect the edges of the chip closely. If any pieces of quartz are loose or flaking, gently remove them with a small tool. You want clean, stable edges for the filler to grip.
Choosing a Quartz Countertop Repair Kit
Three main repair methods exist for quartz countertops: epoxy, acrylic, and light-cure acrylic. Each has trade-offs in durability, ease of use, and how well it matches your quartz.
Epoxy vs. Acrylic vs. Light-Cure Options
Two-part epoxy is the most durable option. You mix a resin with a hardener, apply it to the chip, and let it cure over 24 hours.
Acrylic filler comes in a tube or bottle and requires no mixing. It's faster and cleaner than epoxy. Acrylic cures in 2-4 hours, so you can sand and polish the same day.
Light-cure acrylic is the newest option. You apply it like regular acrylic, then shine an ultraviolet light on it for 30-60 seconds to cure it instantly.
For most homeowners, two-part epoxy offers the best balance of durability and cost. Acrylic works well if you're comfortable with slightly faster curing and don't mind a slightly less permanent bond.
Three main repair methods exist for quartz countertops, each with different durability, ease of use, and curing times.
| Method | Cure Time | Durability | Best For |
|---|---|---|---|
| Two-part epoxy | 24 hours | Most durable | Edges and high-heat areas |
| Acrylic filler | 2-4 hours | Slightly less durable | Low-stress chips |
| Light-cure acrylic | 30-60 seconds | Durable | Multiple chips, precision work |
Selecting the Right Quartz Countertop Chip Filler
Choosing the right filler means matching it to your quartz color and pattern as closely as possible. A visible mismatch ruins even a structurally perfect repair.
Color Matching and Pattern Blending
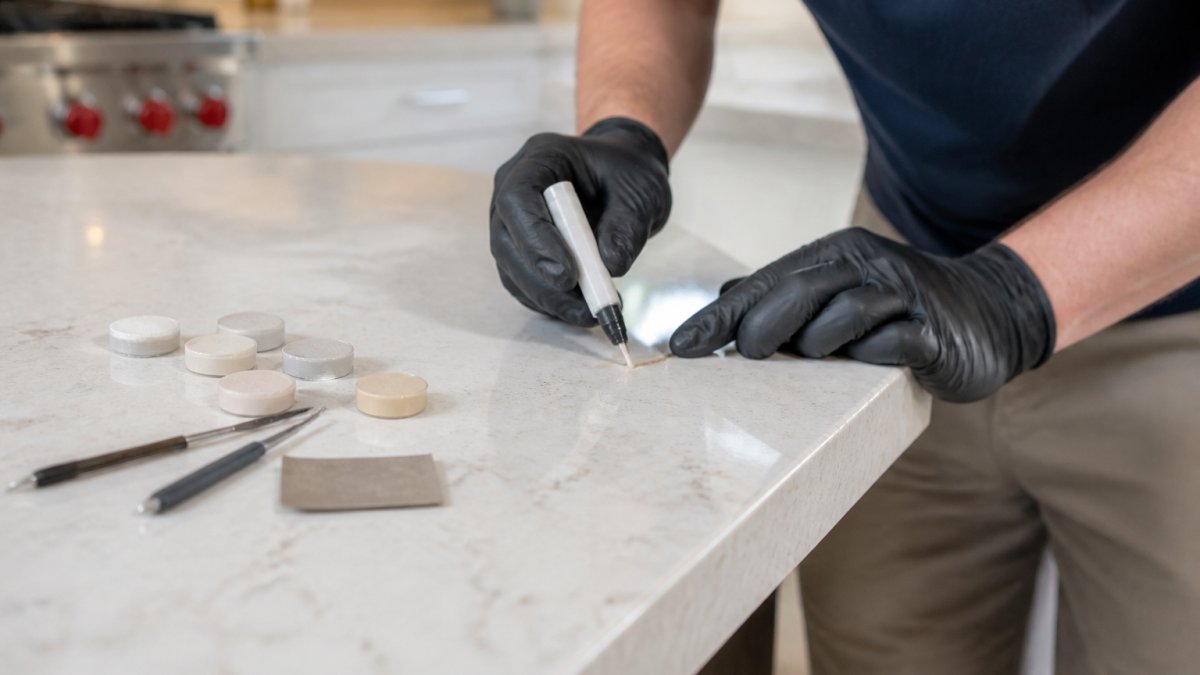
Most quartz countertops have flecks, veining, or a mottled pattern. A solid-color filler will stand out against this texture. Many repair kits include color tints or pigments that let you customize the filler to match your quartz.
Before you buy a kit, photograph your countertop in natural daylight and take the photo to a home improvement store. Compare the filler color to your actual quartz under the same lighting. Indoor lighting and daylight look different, a match indoors may fail in natural light.
If your quartz has a pattern, you have two choices: tint the filler to match the dominant color, or blend it with the lightest or darkest fleck in your pattern. Blending with the pattern is harder but more effective. A filler that matches one shade in your quartz's natural variation will disappear better than one that tries to match the exact average color.
Test the tint on a hidden area of your countertop or a scrap of quartz if you have one. Let it cure fully before deciding. Filler looks different when wet versus cured.
Step-by-Step Repair Process
The actual repair takes 15-30 minutes of active work, but the full process, including curing and finishing, spans hours or a full day depending on your filler choice.
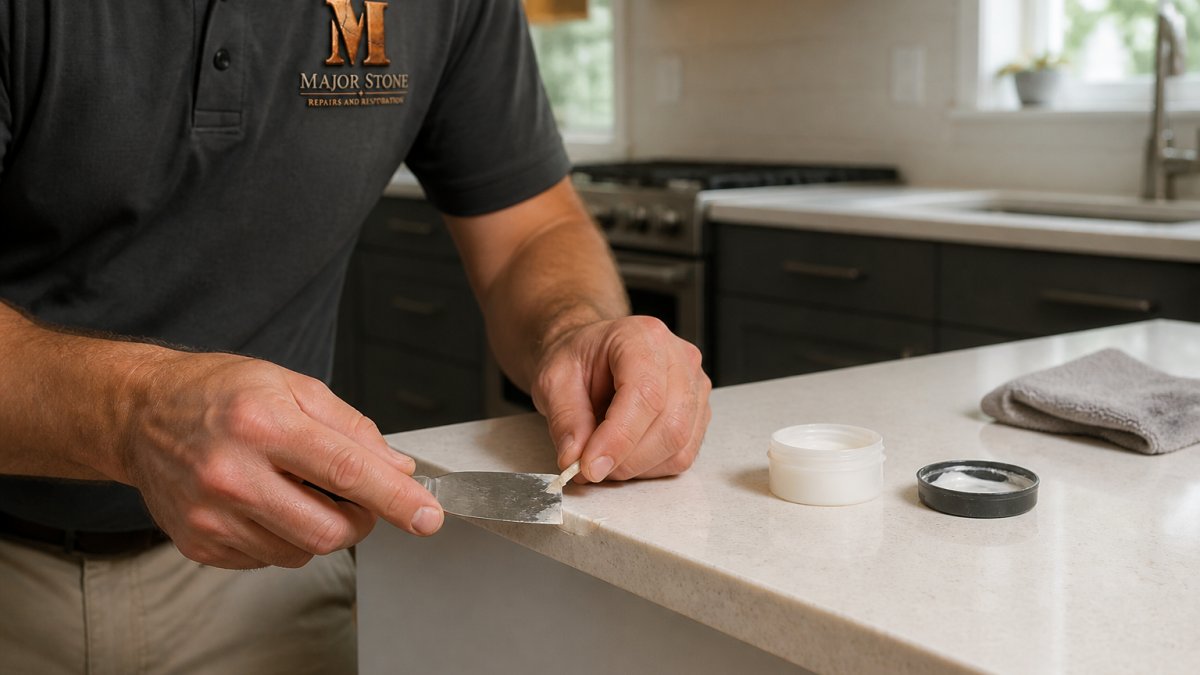
Step 1: Apply and Shape the Filler
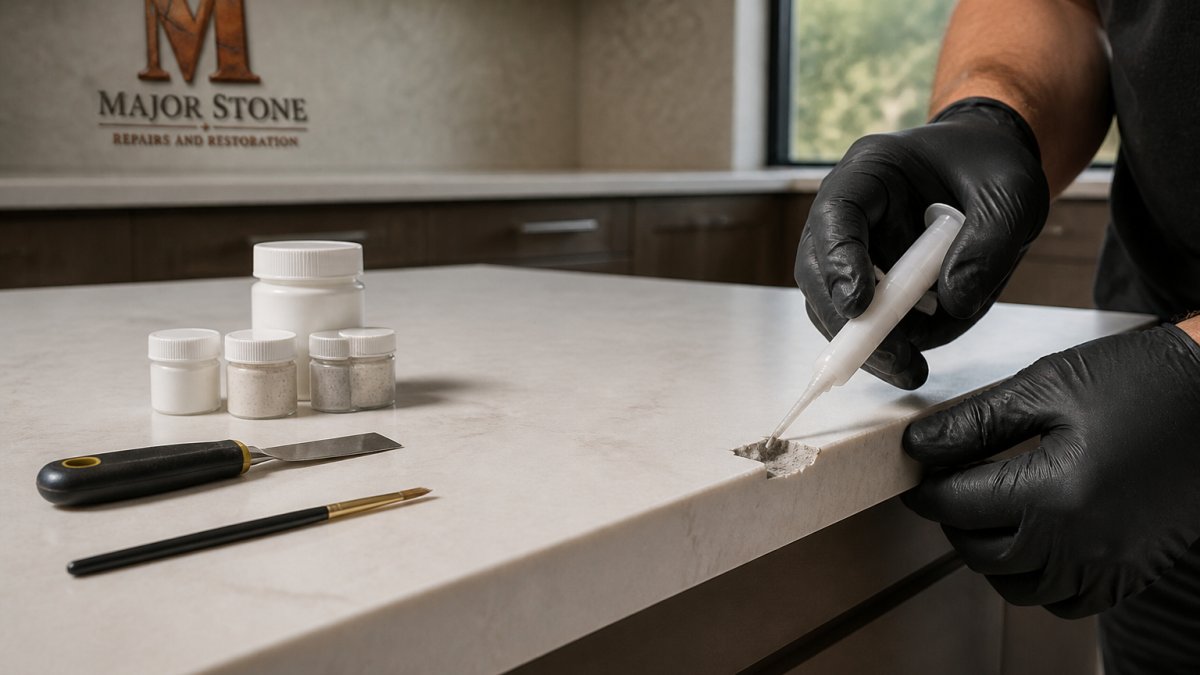
Apply the filler with a putty knife or applicator tool. For epoxy, mix the resin and hardener according to package directions. Work quickly; epoxy begins to set within 10-15 minutes.
Press the filler into the chip firmly. Use your putty knife to overfill the chip slightly, the repair will shrink as it cures.
For edge chips, shape the filler to match the original edge profile. If your countertop has a beveled edge, angle the filler to match. If it's a sharp edge, keep the filler flush.
Work quickly but carefully. Once epoxy starts to set, it becomes difficult to shape. If you're using acrylic, you have more time, acrylic stays workable for 30-45 minutes before it begins to harden.
Step 2: Cure or Light-Cure the Repair
For two-part epoxy and standard acrylic, let the filler cure undisturbed for the time specified on the package. Don't touch it, don't move your countertop, and don't run water nearby. Vibration and moisture interfere with curing.
For light-cure acrylic, position the ultraviolet light directly over the repair and activate it for the recommended time, usually 30-60 seconds. The filler hardens instantly.
Once the filler is fully cured, it will be hard and won't dent if you press it with your fingernail. If it still feels slightly soft, give it more time. A partially cured repair will fail under normal kitchen use.
Step 3: Sand and Polish the Repair
After curing, sand the repair smooth. Start with 220-grit sandpaper and work to 400-grit or higher. Sand in circular motions, not back-and-forth, to avoid creating visible scratches.
Sand until the filler is flush with the surrounding countertop. This takes patience, rushing this step leaves a raised bump that catches light and draws attention to the repair.
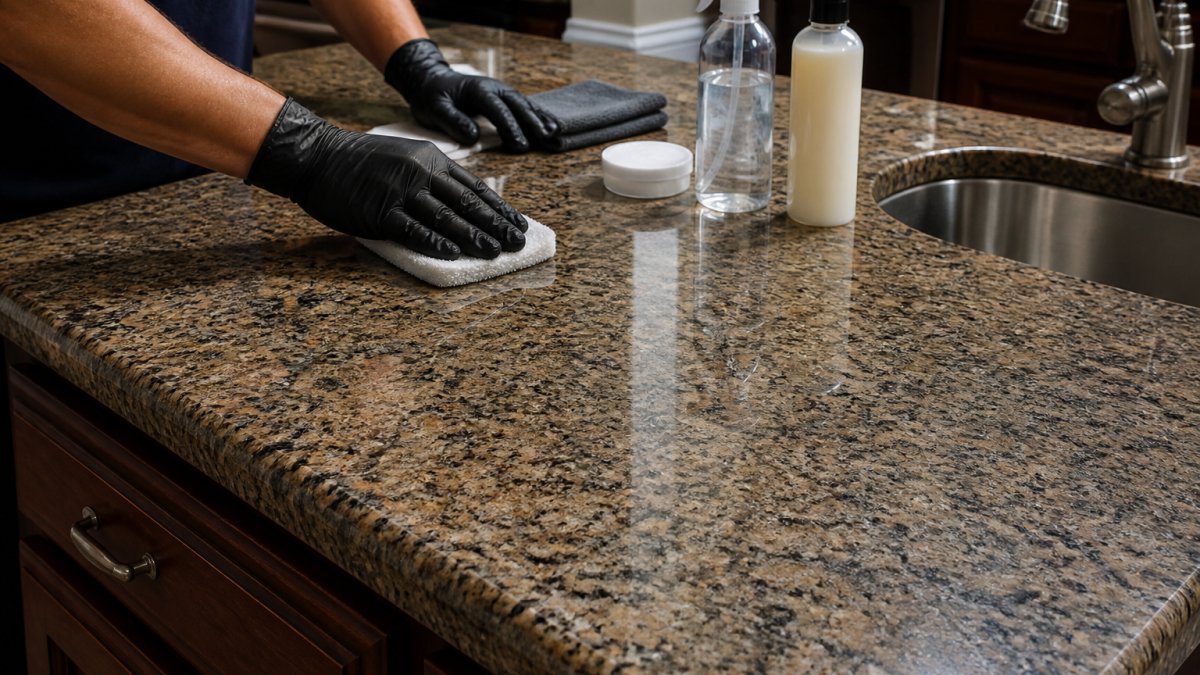
Once the surface is smooth and level, switch to a polishing compound made for quartz. Apply the compound with a soft cloth and buff the repair until it matches the shine of the surrounding countertop. A dull spot stands out as much as a color mismatch.
For edge chips, sand the edge profile carefully to match the original shape. Use a sanding block or sanding sponge to maintain the correct angle.
Understanding Quartz Countertop Repair Cost and Durability
A DIY repair costs between materials and your time. Professional restoration costs more upfront but offers durability guarantees that home repairs cannot match.
DIY Repair Durability and Visibility
The visibility of your repair depends on three things: how well you matched the color, how smooth you sanded it, and how well you polished it. Even a perfect structural repair will show if the color doesn't match. A visible repair often bothers homeowners more than a small chip would have.
Watch out: if your repair fails and you attempt it a second time, the old filler must be completely removed first. Layering new filler over old is a recipe for another failure. Removing old filler means grinding or scraping, which risks damaging the surrounding quartz.
When to Call a Professional Instead
Learn what professional stone chip repair involves so you can decide whether the investment makes sense for your countertop.
If you decide to move forward with professional restoration, reach out to Major Stone Repairs and Restoration for a consultation. Our team has over 20 years of experience restoring quartz and stone surfaces.
Common Mistakes to Avoid
Most DIY repairs fail because of one of these five mistakes. Avoid them and your repair has a much better chance of success.
Skipping the cleaning step. Dust and moisture inside the chip prevent filler from bonding.
Choosing the wrong filler for your situation. Acrylic works for low-stress chips; epoxy works for edges and high-heat areas. Choosing the wrong type means your repair fails prematurely.
Underfilling the chip. Filler shrinks as it cures. If you don't overfill slightly, your repair will be sunken and visible.
Sanding too aggressively. Too much sanding removes the filler faster than you can replace it. Use medium-grit sandpaper and work patiently.
Forgetting to polish. A sanded surface looks dull and different from the rest of your countertop. Polishing restores the shine and makes the repair blend in.
Getting Your Countertop Professionally Restored
We also stand behind our work with a performance warranty.
Explore our expert stone repair and restoration services to see how we approach quartz chip repair. If you're ready to discuss your specific countertop, contact us for your free estimate.
For countertops with multiple chips, deep damage, or cracks, it's also worth considering whether repair or replacement makes financial sense long-term. Read our guide comparing repair versus replacement costs and lifespan to make the right decision for your kitchen.
Frequently Asked Questions
Can quartz countertops be repaired if chipped?
Whether a chip can be repaired depends on its size, depth, and location on the countertop surface.
Is there a filler for quartz countertops?
Always check the manufacturer's guidance for your specific engineered quartz product.
How much does it cost to repair a chip in a quartz countertop?
Professional repair pricing depends on the chip's severity, size, location, and your countertop's complexity.
When should you call a professional to repair a quartz countertop chip?
Call a professional if the chip is deeper than 1/4 inch, spans more than 2 inches, affects the edge profile, is near a seam or sink attachment, or if previous DIY attempts failed. Professionals have access to factory-matched fillers, advanced curing equipment, and can blend repairs invisibly. They also offer warranties on their work and can assess whether the damage is repairable or if replacement is necessary.
The difference between a chip that disappears and one that stands out forever comes down to preparation, material choice, and finishing. If you've got a small, shallow surface chip and you're willing to invest time in color matching and polishing, a DIY repair can work. For anything deeper, larger, or on an edge, let Major Stone Repairs and Restoration handle it. We'll restore your countertop to look like the chip never happened, backed by a warranty that protects your investment.