 how-to
How to Fix a Quartz Countertop Chip: 7 Steps to Try
Quick Summary
Yes, most quartz countertop chips can be repaired. A clean, shallow chip under about half an inch can often be filled with a quartz-compatible resin and polished nearly invisible, while a large chip or any crack calls for a professional.
- Chips under about 1/2 inch across are usually manageable with a quartz-compatible epoxy or light-cure acrylic kit.
- Any crack running out from the chip, even a hairline one, means stop and get a professional assessment.
- Test the repair compound on a hidden spot and check the color under at least two lighting conditions.
- Apply thin layers of resin, overfill slightly, then sand from 400 to 2000 grit and polish to match the surface.
Table of Contents
- Can a Quartz Countertop Chip Be Repaired?
- Assessing Chip Size, Depth, and Location to Decide If DIY Makes Sense
- Gathering a Quartz Countertop Edge Chip Repair Kit and Materials
- Cleaning, Preparing, and Matching the Color of the Damaged Area
- Step by Step: Applying Quartz Chip Repair Adhesive and Filling the Chip
- Curing, Leveling, and Polishing the Finished Repair
- Chipped Quartz Countertop Edge Repair Costs and When to Call a Professional
- Booking a Free Estimate for Your Quartz Countertop Chip
- Frequently Asked Questions
Can a Quartz Countertop Chip Be Repaired?
Last Updated: November 5, 2026
Yes, most quartz countertop chips can be repaired, and a small chip on the edge is often a fair job for a careful homeowner. Stone and quartz surfaces are often the first thing homeowners ask about when a chip appears. The short answer is that a clean, shallow chip can usually be filled and made nearly invisible, while a large crack or a chip that runs through the countertop is a job for a professional.
Quartz is a tough surface, but it is not indestructible. Quartz countertops are made from crushed stone bonded with resin. That resin is what makes a chip possible, and it is also what makes a good repair possible. A matching resin can bond to the damaged area and rebuild the missing material.
Here is what usually works:
- Small edge chips, roughly the size of a fingernail, are good DIY candidates
- Surface scratches and dull spots can often be polished out
- Chips near a seam, sink cutout or corner need more care
- Cracks that run through the slab usually need a professional
Watch out: A chip that feels sharp or looks like it is spreading can mean a crack is forming underneath. Stop and check the surface before you sand or grind anything.
Assessing Chip Size, Depth, and Location to Decide If DIY Makes Sense
Before you buy anything, measure the damage. Use a ruler to check how wide and how deep the chip is.
Four criteria can help decide whether a chip is a DIY candidate or a professional job. Work through them in order, because a single failing criterion usually overrides the others.
1. Size. Measure the widest point of the chip. Chips under about 1/2 inch across are usually manageable with a two-part epoxy or light-cure acrylic kit.
2. Depth. A shallow chip that only removes the surface layer is the easiest repair. A chip that exposes the inner body of the slab is still repairable, but the fill has to rebuild structure, not just appearance.
3. Location. Edge and corner chips are the most common and the most repairable. Chips near a sink cutout, a seam, or a cooktop cutout are riskier because those areas carry stress and flex slightly with temperature and load.
4. Cracks. This is the criterion most homeowners miss. If a crack runs out from the chip, even a hairline crack, stop.
A simple decision rule: if the chip passes all four checks (under 1/2 inch, shallow, away from seams and cutouts, and no crack), it is a reasonable DIY job. If it fails any one of them, get a professional opinion before you touch it. A short inspection is almost always cheaper than a repair that has to be redone.
Watch out: A chip that feels sharp or looks like it is spreading can mean a crack is forming underneath. Stop and check the surface before you sand or grind anything.
The article gives four criteria for deciding whether a chip is a DIY job, summarised below.
| Criterion | Good DIY candidate | Call a professional |
|---|---|---|
| Size | Under 1/2 inch across | Larger than about 1 inch, or removes a full corner |
| Depth | Shallow, surface layer only | Deeper chip needing a multi-layer fill |
| Location | Edge or corner | Near a sink cutout, seam or cooktop |
| Cracks | No crack running out from the chip | Any crack, even hairline, or loose chip |
Gathering a Quartz Countertop Edge Chip Repair Kit and Materials
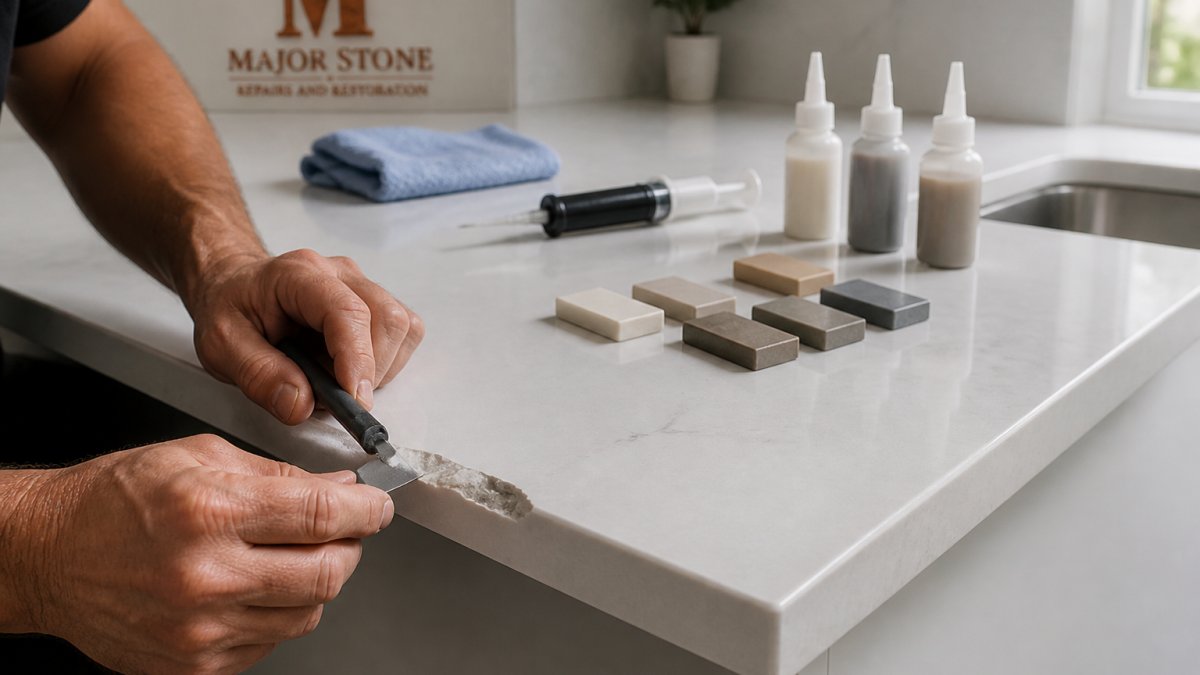
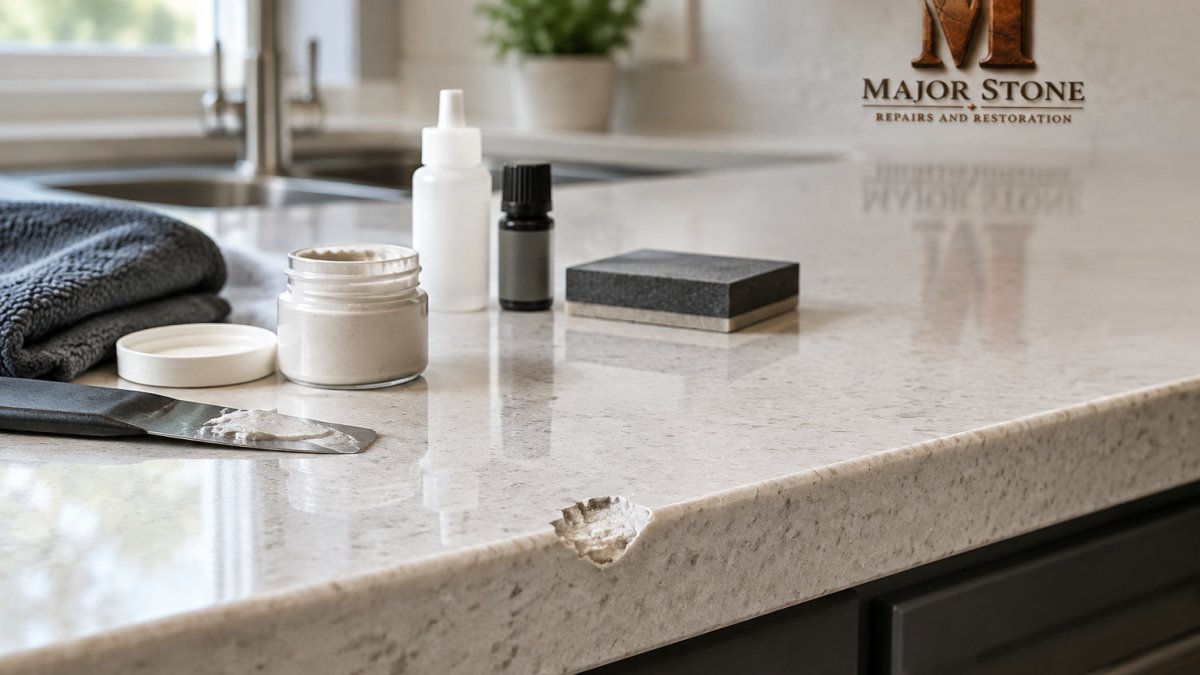
A basic quartz chip repair kit includes a few simple items. Most kits sold for quartz include a two-part resin, colorant pigments and a few tools. Look for a product labeled as compatible with quartz or engineered stone.
Here is what to gather:
- A quartz-compatible epoxy or light-cure acrylic repair kit
- Colorant or tint to match your countertop
- A small mixing cup and wooden stick
- Plastic razor blade or putty knife
- Fine sandpaper, 400 to 2000 grit
- Painter's tape to protect nearby surfaces
- Denatured alcohol and clean lint-free cloths
- Work gloves and a fan for ventilation
Prices for repair kits vary by brand, retailer and kit size, so check current listings before you buy.
Cleaning, Preparing, and Matching the Color of the Damaged Area
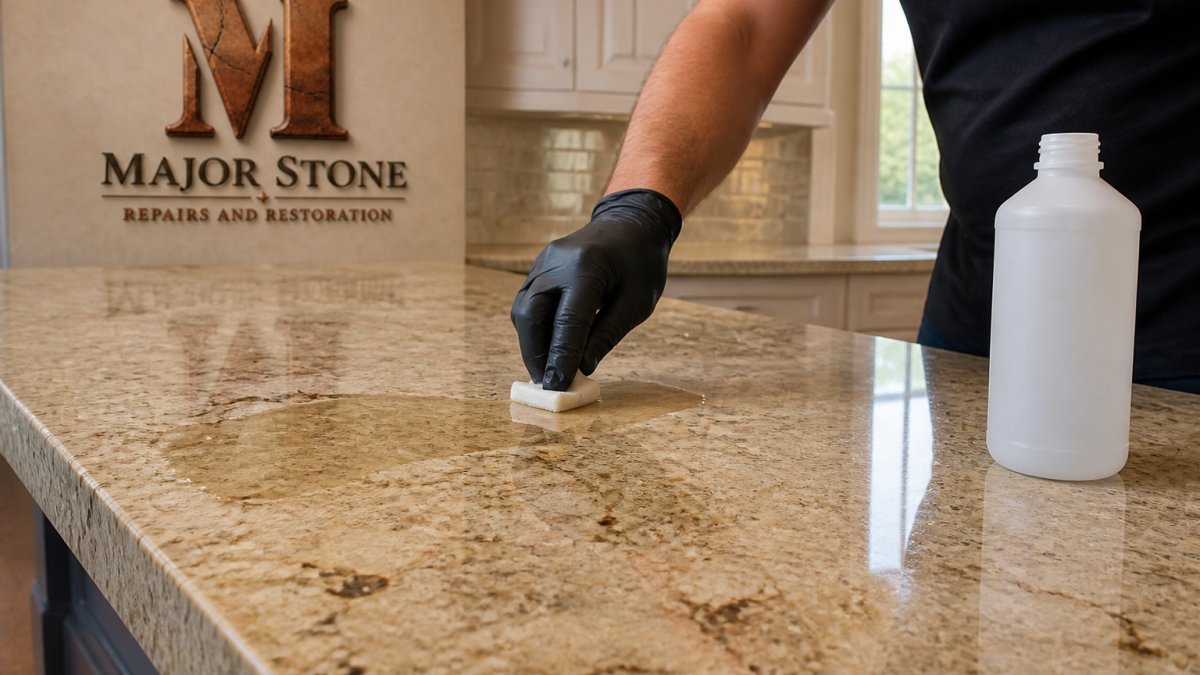
Clean the chip first. Wipe the area with denatured alcohol and let it dry fully. Any grease, dust, or polishing residue will keep the resin from bonding. If the chip is near a sink, dry the area thoroughly, because trapped moisture can cloud a clear resin.
Color matching is where most quartz chip repairs succeed or fail, and it is different from matching natural stone. Engineered quartz is a mix of crushed stone and polyester or epoxy resin, often with pigments and sometimes with reflective flakes or veining printed or pressed into the surface.
Start by identifying what kind of quartz you have. Look at the chip under bright light. A uniform color with fine speckling is easier to match than a slab with large veining or mirror flakes.
Test the repair compound before you commit. Mix a small amount of clear resin and apply it to a hidden spot, such as an inconspicuous edge under an overhang or a scrap piece of the same material if you have one. Let it cure fully, then compare it to the surrounding surface in the light where you actually use the kitchen. Do this for each candidate product:
- Clear resin: Works best on light, uniform quartz. On darker or patterned slabs, clear resin can look slightly lighter or cloudier than the surrounding surface after curing.
- Tinted resin: Mix colorant into clear resin in small increments. Add less than you think you need, because most colorants darken as they cure. Test again after curing, not while wet.
- Color-matched compound: Some kits sell pre-matched colors for popular quartz brands. These are convenient but rarely exact, so still test on a hidden spot.
A common pattern is that homeowners match color under dim or warm light and then find the repair looks off under daylight or under the cool LED lighting common in kitchens.
If the chip is on an edge, note that edge profiles are often polished to a different sheen than the top surface. A repair that matches the top may still stand out on the edge.
Watch out: Do not apply a test patch in a visible area and leave it. Some resins bond aggressively to quartz, and a failed test patch can be harder to remove than the original chip.
Step by Step: Applying Quartz Chip Repair Adhesive and Filling the Chip
Work in a well-ventilated room and follow these steps in order:
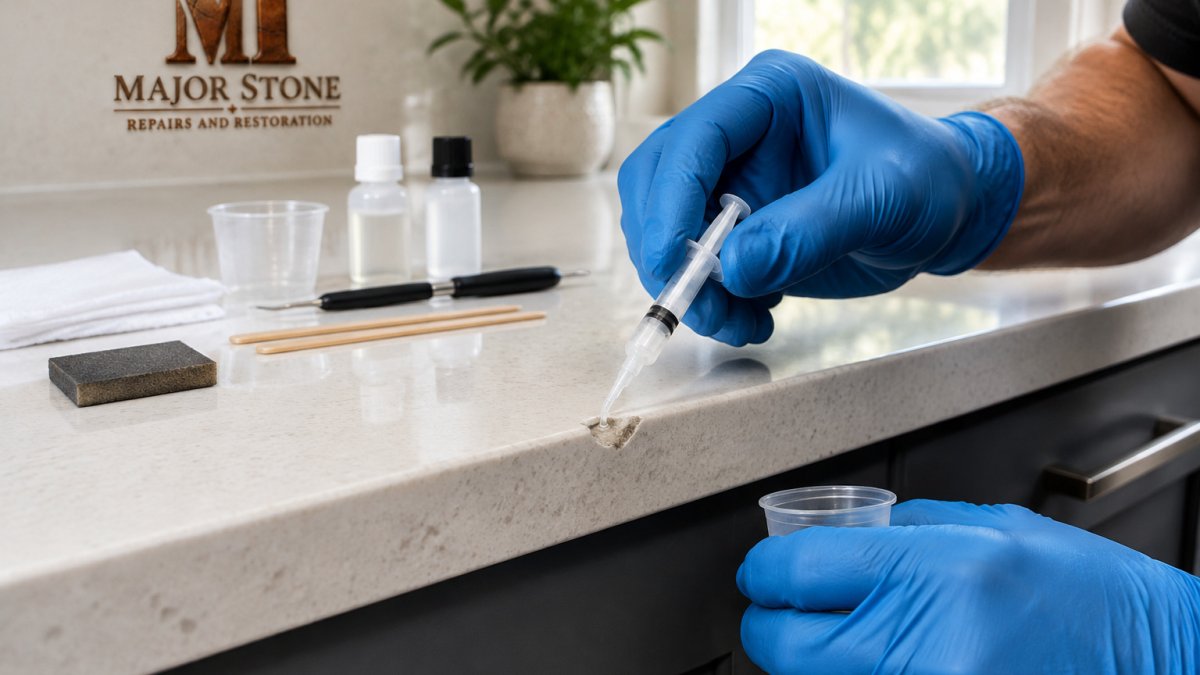
- Tape the edges. Place painter's tape around the chip to protect the surrounding surface.
- Mix the resin. Combine the two parts or the tinted resin as the kit directs, and mix slowly to avoid bubbles.
- Apply a thin layer. Use a toothpick or small tool to push resin into the chip. Overfill slightly, since the resin shrinks as it cures.
- Remove air bubbles. Tap the surface gently or pass a flame quickly over the resin, if the kit allows it.
- Let it cure. Follow the cure time on the label. Avoid touching the repair during this time.
- Scrape off the excess. Use a plastic razor blade to trim the bulk of the resin while it is still firm.
- Repeat if needed. Add a second thin layer if the first one sinks below the surface.
Expect the repair to look slightly different from the surrounding surface until it is sanded and polished.
Curing, Leveling, and Polishing the Finished Repair
Once the resin has fully cured, level the repair. Sand it lightly with fine grit paper, starting around 400 grit and moving up to 2000 grit. Keep the paper flat and wet it slightly to avoid scratching nearby areas.
Polish the spot with a stone polish or a fine compound until the surface looks even. Wipe away any residue with a clean cloth. Check the repair from several angles in good light.
A good repair blends into the surrounding surface and should be smooth to the touch. If the polishing step feels beyond your comfort level, our Clean & Polish Service can bring the repaired area to a matching finish.
Chipped Quartz Countertop Edge Repair Costs and When to Call a Professional
DIY works for small chips, but some jobs need a professional. Call a specialist if the chip is large, if a crack runs from it, or if the damage is near a seam or sink. A professional repair can also help when color matching is difficult or the countertop is an expensive material. Where a chip sits beside a seam or sink, our Seam Repair service may address the adjacent problem.
Repair costs depend on the size of the damage, the location, and the scope of the job. A professional quote is the best way to get an accurate figure for your countertop. Major Stone Repairs and Restoration provides mobile service in the Knox, Blount and Loudon counties area, so you do not need to move a heavy slab.
Many homeowners weigh the cost of a repair against the cost of replacing the whole countertop. Many homeowners weigh the cost of a repair against replacement before deciding.
Booking a Free Estimate for Your Quartz Countertop Chip
If you want a professional to look at the chip, contact us to request a free estimate. Mobile service means the team comes to your location, so you can keep your countertop in place.
If you want more detail about what a professional repair involves, read our professional stone and quartz restoration services page. You can also review our guide to stone chip repair to see how specialists approach the job.
If the chip is larger than a fingernail or you see a crack, a professional assessment is a sensible next step. A short inspection can save you time and help you avoid a costly mistake.
Frequently Asked Questions
Can quartz be repaired if chipped?
Yes, most small chips on the edge or surface of a quartz countertop can be repaired. A chip is usually filled with a clear or color-matched epoxy or light-cure acrylic repair compound, then leveled and polished so it blends with the surrounding surface. Larger damage, cracks that run through the slab, or chips near a sink cutout often need a professional. Repairs rarely make the surface look truly brand new, so set realistic expectations before starting.
How much does it cost to fix a chip in a quartz countertop?
Pricing depends on the size of the chip, how many chips there are, the repair material, and whether a technician travels to your home. A DIY repair kit is typically a modest one-time purchase, while a professional visit is priced per job. Pricing depends on quantity, damage size and location, so the best way to get current pricing for your countertop is to request a free estimate through the company's website.
What adhesive should you use to repair a quartz countertop chip?
Look for a quartz-compatible epoxy resin or a light-cure acrylic designed for stone surfaces. Cyanoacrylate glue is fast but tends to stay brittle and can yellow, so it is generally a poor choice for a visible edge repair. Choose a clear resin when possible, and add a colorant in small increments to match the countertop. Always test the mixed color on a scrap piece or hidden spot before applying it to the chip.
When should you hire a professional to repair a quartz countertop chip?
Call a professional if the chip is deep, spans a seam, sits near a sink or cooktop cutout, or is part of a crack that is spreading. A professional is also worth considering if the countertop is high-end or still under a manufacturer or installer warranty, since unapproved repairs can affect coverage. If your first attempt leaves a visible mismatch or a rough finish, a stone technician can usually correct it more cleanly.